How to use blogdown in 2024
Make your own personal website/blog with RStudio using blogdown
Build your own fancy personal website/blog with RStudio using blogdown in 2024!
1 Overview
Creating a fancy personal website or blog is a dream for many people. However, it is not easy to make it happen. Well, it’s at least what I thought one month ago, and thinking it as a tough problem is probably one of the reasons why I’m not a big fan of making website/blog.
Motivated by a post from Shilaan Alzahawi, I realized that people can build websiet with RStudio and RMarkdown, which is super cool since I’m using RStudio all the time and quite familiar with it. So I decided to give it a try and it’s much simpler than I expect!
The existing tutorials regarding Blogdown are typically written in 2022 or earlier, so that there may be some outdated information. I tested their instructions and summarized into a doable solution. Following these steps, everyone should be able to create a personal website/blog with blogdown in 2024!

2 Create Github repo
-
Go to your Github account, create a new public repository. Initialize with a README, but don’t add
.gitignore. Unlike creating webpage based onGithub Pages, we can name this repository whatever we like if you use Netlify in following steps. Choose an appropriate license, e.g. MIT License. -
Go to the main page, click the blue
Codebutton, copy theHTTPSlink underClonesection. We will need to paste this link into RStudio in the next section. -
Now we have a remote repository on Github! It’s used to store the source code and related files of our website. Next, we need to create an R project on our local computer to manage our website.
3 Create RStudio project
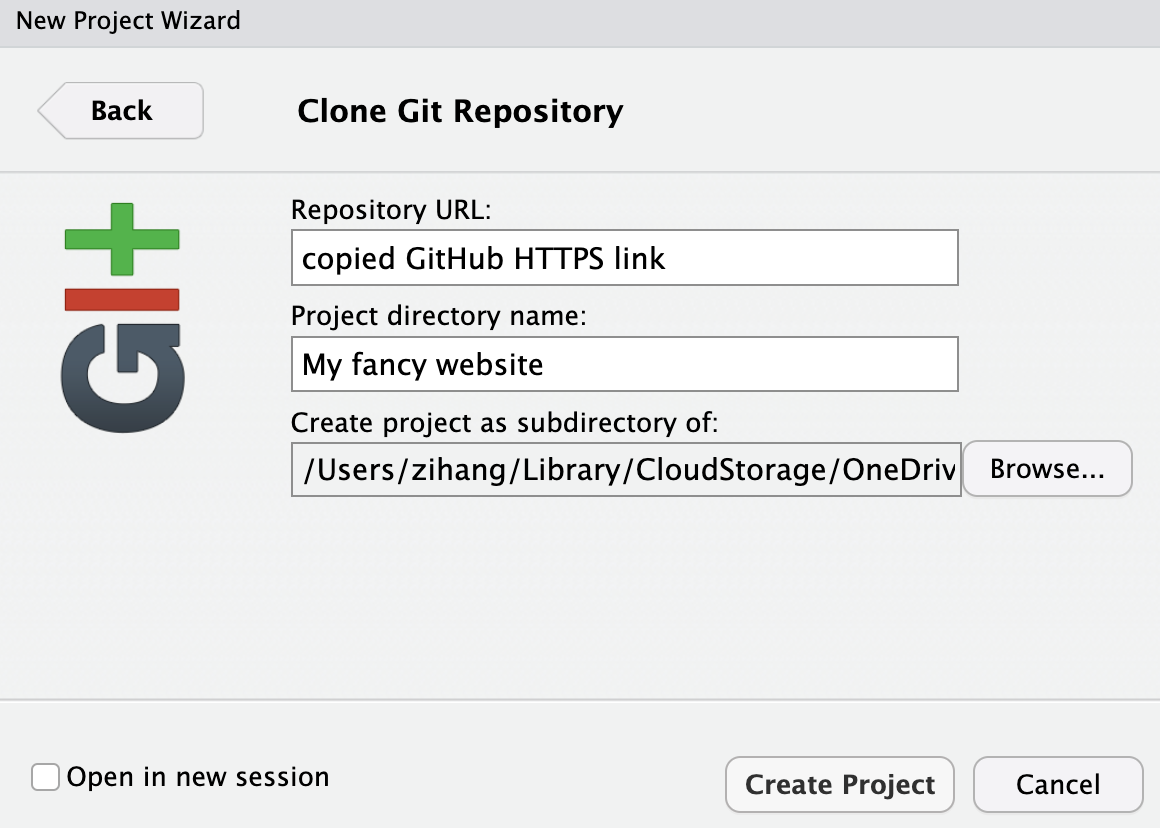
- We work on the local copy on our computer by cloning the remote Github repository into a new RStudio project, so that we can sync between remote repository and local desktop.

-
Open RStudio, click
File > New Project > Version Control > Git. -
Paste the
HTTPSlink in step 1 toRepository URL, name this project. -
Create this project in the folder where you would like to work on.
-
Click
Create Project.
4 Create Site from Templates
- Install the
blogdownpackage:
|
|
-
We are about to use our first
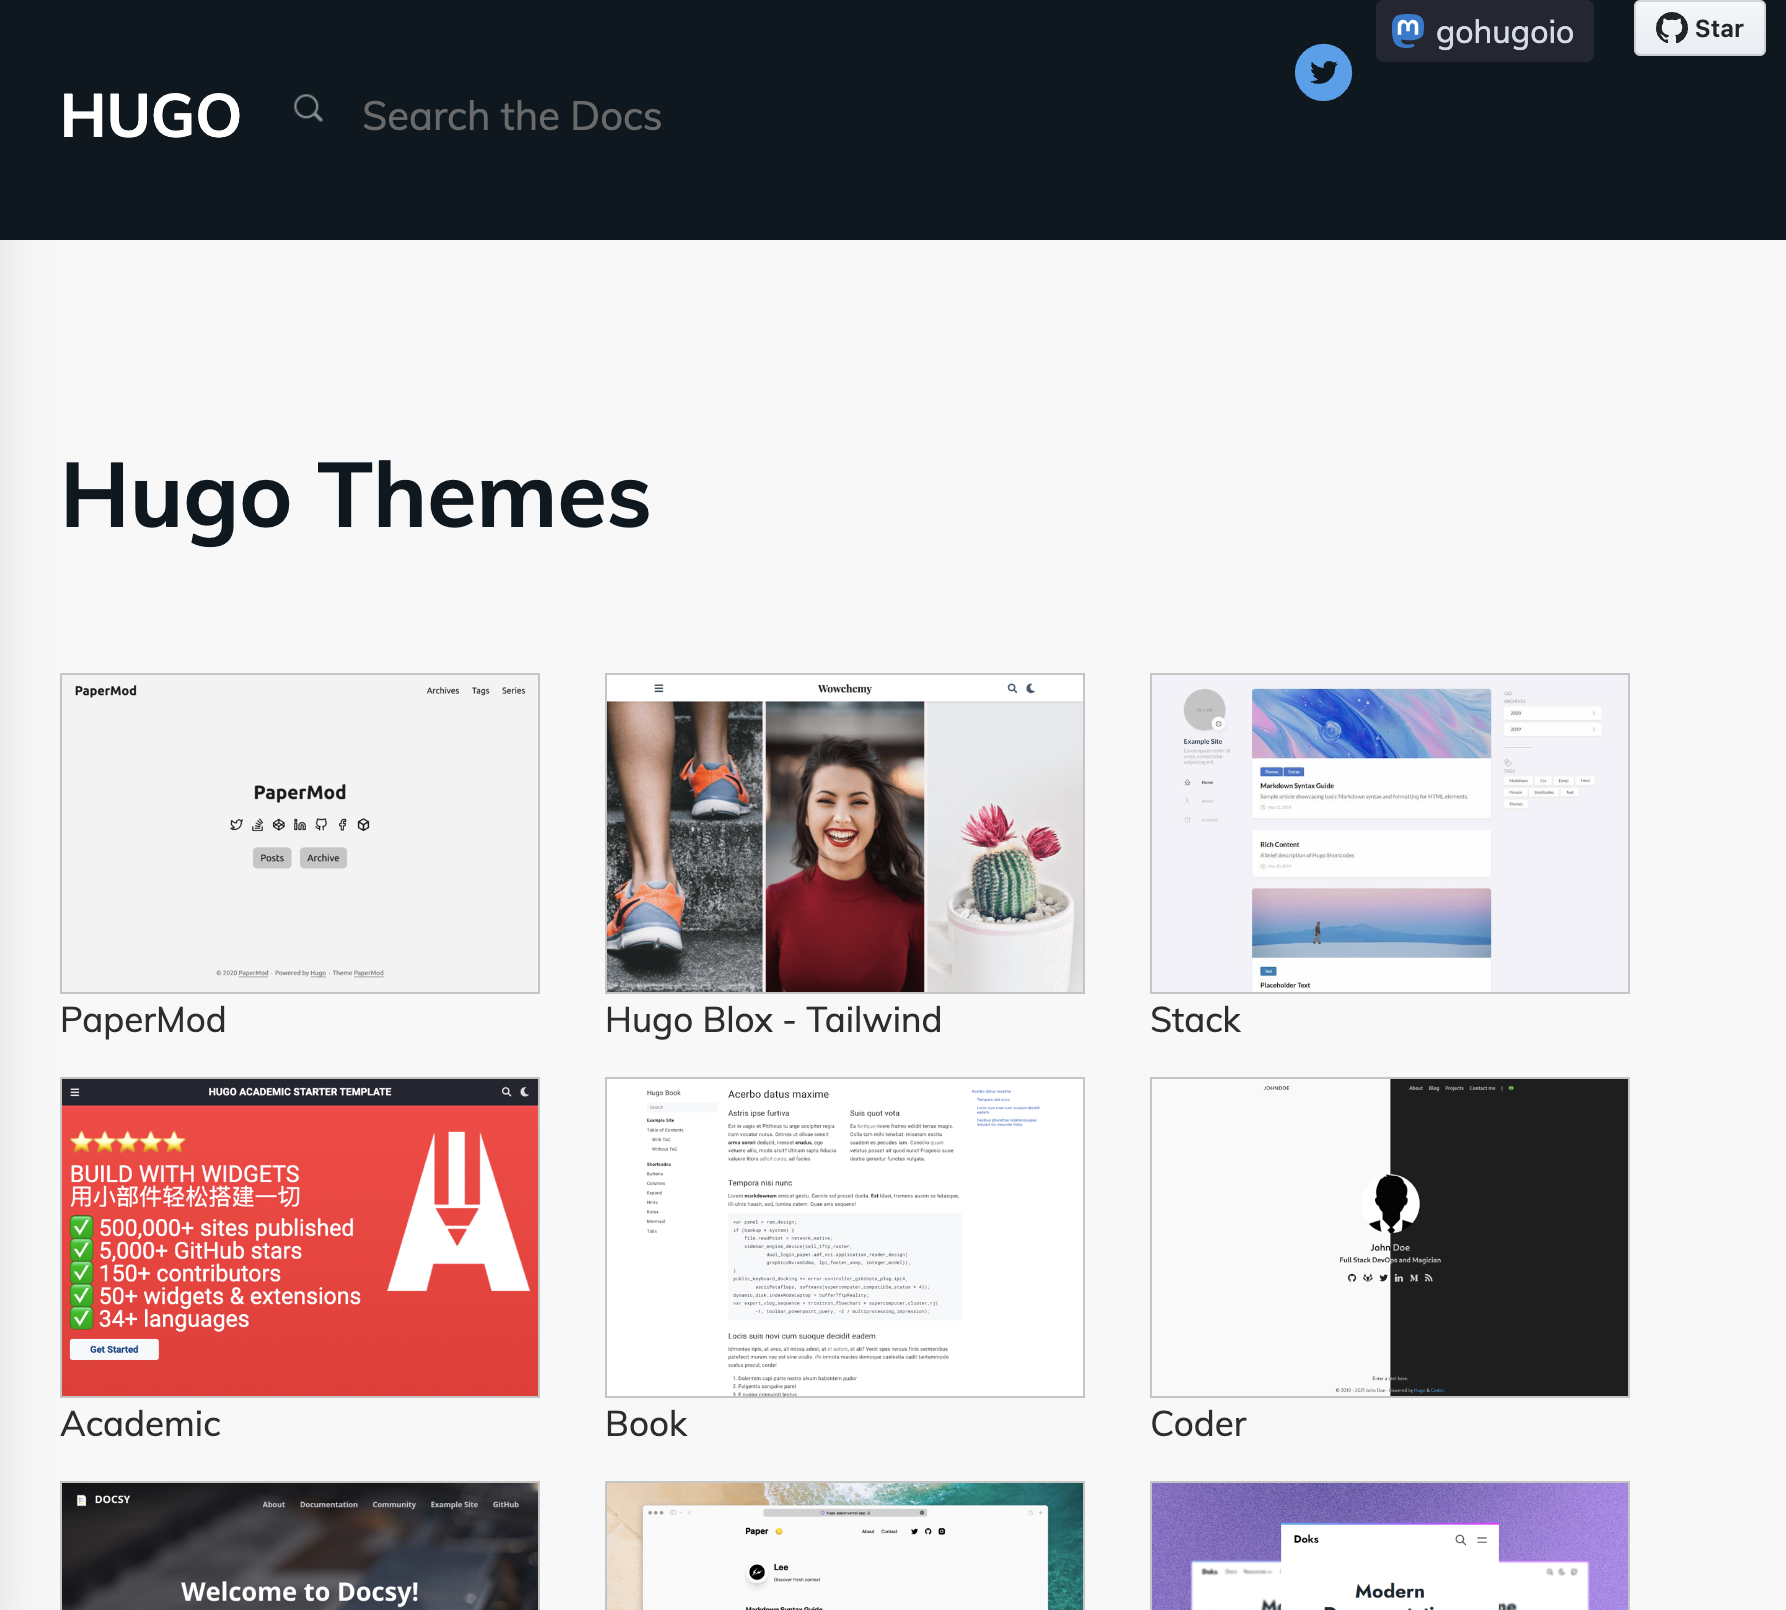
blogdownfunction to create a website with Hugo. Here is a list of Hogo themes which can be chosen to serve as the template of your website. However, not all themes are supported perfectly byblogdown. It may be a wise choice to choose the theme that is actively maintained, or is documented to be supported byblogdown, see these examples.
-
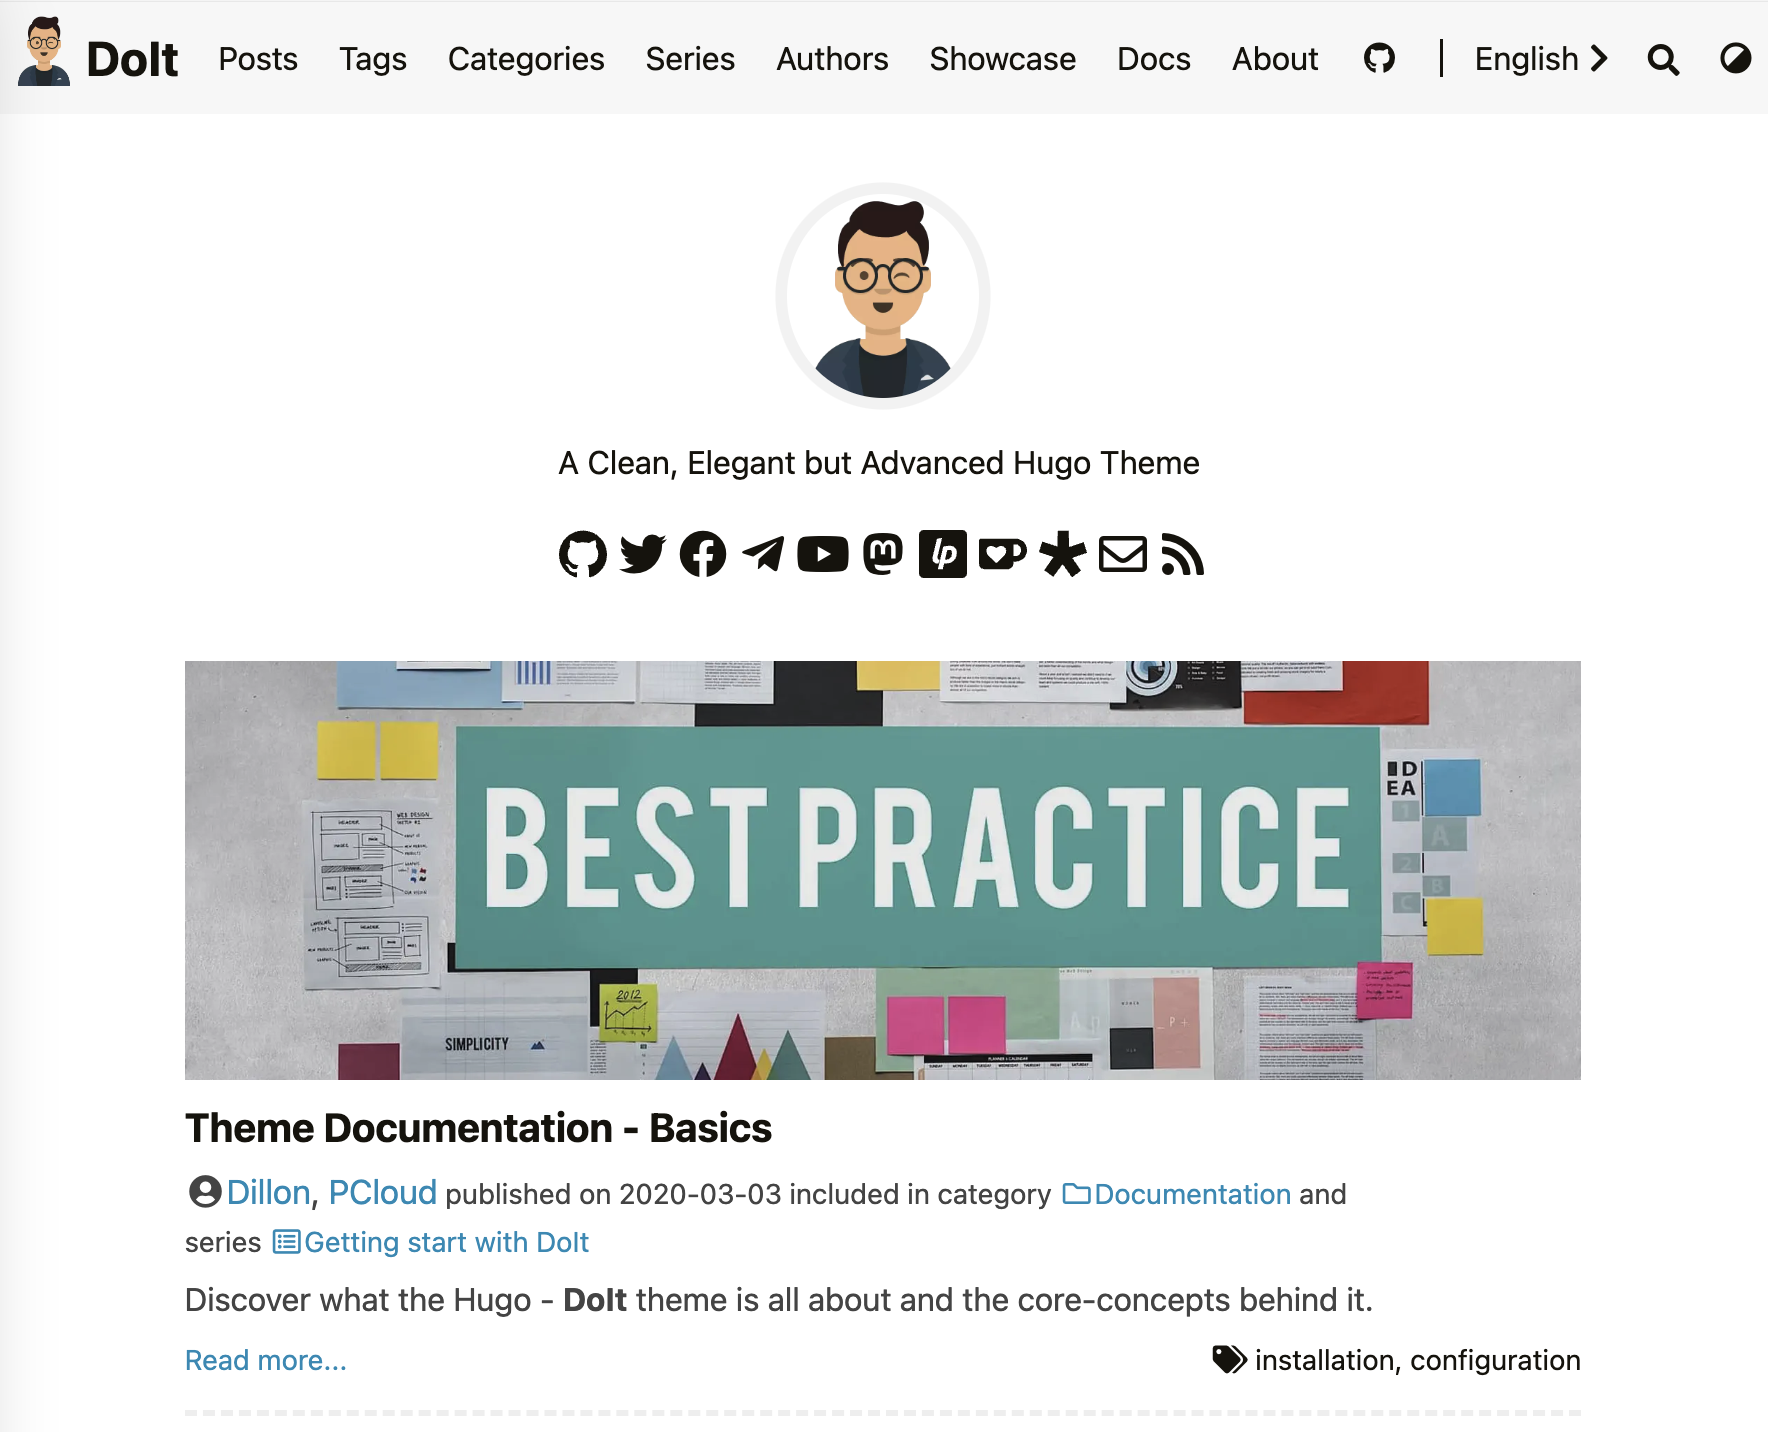
The template I choose to use is
DoIt. Luckily, this template is well-supported byblogdown. The command I use to initialize my website is
|
|
Note that the theme name is the same as the repository name on Github. If you use a different theme, you should replace HEIGE-PCloud/DoIt with the theme name your choose.

- We can now see some message showing
blogdownis building the site. Take a moment to read through those messages, and take necessary actions. Importantly, we can use
|
|
to preview it locally in RStudio viewer, and
|
|
to stop a local preview. It’s especially convenient when we modify our website in RStudio before publishing in the future.
5 Create your own content
- The website is now created, but it’s not personalized yet. We need to add our own content to the website. Take some time to read through the instructions in the
READMEfile of the theme you choose. It should contain some basic information about how to customize the website. Modify your template in the way you want.
config.toml file or some other .toml files in the config folder are the most important files to modify.- Let’s use
Rmarkdownto create our new blog! That’s the main advantage of usingblogdownto create a website, at least for me usingRmakrdownis within my “comfort zone” :) We can use console to initialize a post template:
|
|
This command will create a new Rmarkdown file in the content/post folder. The path of post folders may vary depending on the theme you choose. In some cases, the name is “post” instead.
- Modify the content of the Rmarkdown file, like authors and date. We can add an option to our
.Rprofilefile so that we don’t have to type the same information every time we create a new post.
|
|
Then modify the .Rprofile file content, for example
|
|
Restart R session to make the changes take effect.
-
After we finish the content, we need to knit the
index.Rmarkdownfile to generate aindex.markdownfile, so that it can be published as a.htmlpage. We can use theKnitbutton in RStudio, or useCmd+Shift+K(Mac) orCtrl+Shift+K(Windows/Linux). -
Let’s then config GitHub settings. We need to make a
.gitignorefile:
|
|
Then add these contents:
|
|
Use this command to check our .gitignore file:
|
|
Follow the instructions showing in the console, especially those one starting with [TODO].
Finally, check our content:
|
|
Pay attention to the items that are flagged in the printing message, and take necessary actions to fix them. After that, we’re free to add/commit/push our changes to the remote repository.
- The overall workflow every time I want to modify my website is :
- Open RStudio, open my website project.
- Pull the latest changes from the remote repository. I personally use the
Gitpane in RStudio to do this. - Start Hugo server by
blogdown::serve_site(), then view site in RStudioviewer. - Edit existing files or add a new post.
- The RStudio viewer pane will automatically update when saving the file. Take a look at the changes to make sure everything looks good.
- Commit and push changes to GitHub (can use the
Gitpane).
6 Use Netlify to publish the website
So far, we have a website on our local computer, and we can preview it in RStudio. However, it’s not published on the internet yet. We can use Netlify to publish our website (It’s free!).
- Go to Netlify, sign up using your GitHub account.
- Click
Add new site, then chooseImport an existing project, thenDeploy with GitHub. Select the repository we created in the first step. - Allow necessary permissions for Netlify to access our repository. Complete the process and then we’re free to go!
- We’ll have a website with a URL containing
netlifydomin, likehttps://zihangwang.netlify.app. In the free plan, we can customize the domain name beforenetlify.app. We can use our own domain name if we have one, or buy one from Netlify (I boughtzihangwang.orgfrom Netlify :). - Then back to our local blogdown project, config our Netlify setting:
|
|
Follow the instructions and take necessary actions. After that, we can check our config:
|
|
Importantly, remember to change baseURL to the actural URL of our website.
7 We made it!
Congratulations! We have created our own website/blog with blogdown in 2024! We can now personalize it, share our website with others, and write our own blog posts. It’s a great way to share our thoughts and knowledge with others!
8 References
- The
blogdownproject github: https://github.com/rstudio/blogdown. - The official book for
blogdown: https://bookdown.org/yihui/blogdown/. - Up & running with blogdown in 2021, by Alison Hill: https://www.apreshill.com/blog/2020-12-new-year-new-blogdown/.
- Building your website using R {blogdown}, by Shilaan Alzahawi: https://www.shilaan.com/post/building-your-website-using-r-blogdown/.